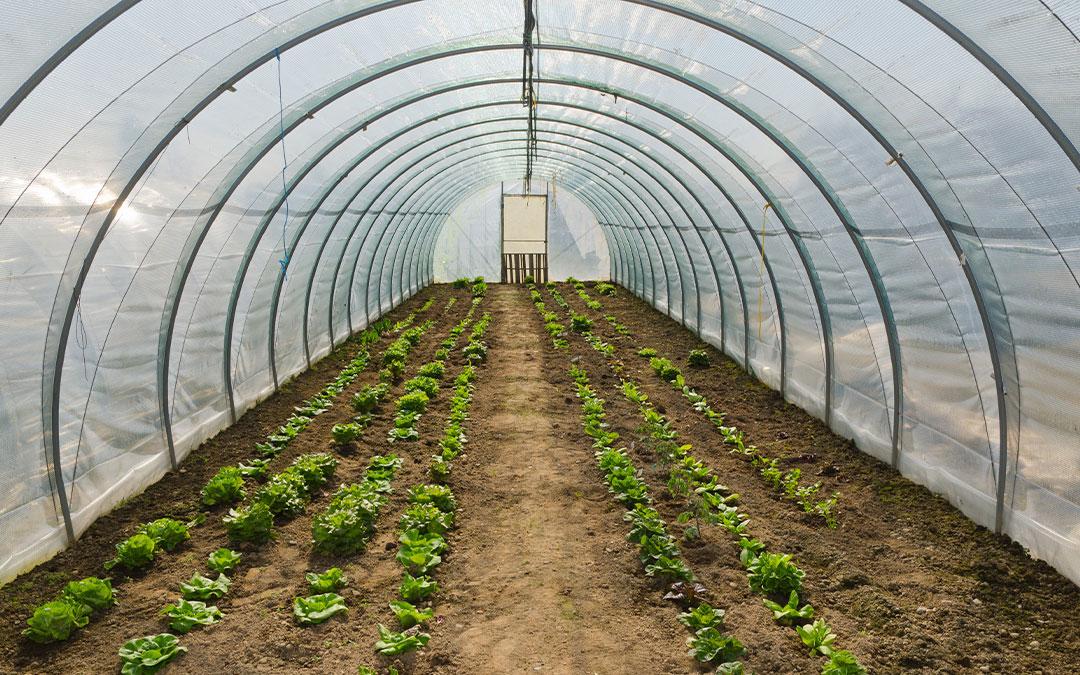
What would March be like (Yes, I know this is the April edition) without a story about hoops? (Stay with me here…) But I’m not talking about basketball.
I’m talking about hoop houses!
You’ve seen them all over town. Perhaps a neighbor has one and you thought how nice it would be to be able to extend the growing season for your little plot of land.
The advantages of a greenhouse are many. The best one might be that you can extend the growing season for your garden by a month or more on each end.
Greenhouses capture heat from the Sun and keep the interior of the structure (and all that is in it) warm as the heat does not escape as quickly as it is generated.
Other advantages are a nominal control of hungry critters and voracious insects allowing you to grow your crop without chemicals and setting your table with a largely organic crop.
Great! Let’s get started!
 Not so fast there, Old MacDonald.
There are a couple of major disadvantages you have to consider.
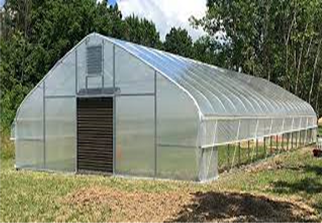
- The cost. You can spend thousands of dollars on one of those big boys pictured above.
- Where are you going to put it?
- Then you have permits, permissions and all manner of hoops (sorry) you have to jump through before you can even think about that first crop.
And besides, realistically, how much food do you need to feed your family?
Don’t let any of this discourage you!
Let’s just say you just want a small space to start your seeds early and you’ll be transplanting them as soon as they and the weather are ready for them.
You just need what is, essentially, a small shed that just happens to have walls and, probably, a roof of glass or some other see-thru material.
 Honestly, you can purchase smaller hoops that just cover your garden rows or raised beds. But, where’s the adventure in that?
If you have some rudimentary carpentry skills and access to some old storm windows or other windows, build yourself your own do-it-yourself custom greenhouse!
There are plenty of old storm windows in attics and garage rafters all over town. Homeowners bought new storms or completely new windows some years ago and the old ones (if the contractor didn’t remove them) have been sitting ever since collecting dust.
You may have even “inherited” these leftovers when you bought your home and wondered what to do with them. Additionally, I’ve often found many old storms and even interior sash windows available on Facebook Marketplace. Often free, or at a very reasonable price. Often the owner just wants to be rid of them.
Use these old windows to construct your very own greenhouse! Pick a sunny spot in your yard and go to work.
You start by laying out your windows until you have two “walls” of your greenhouse that are somewhat the same size. This is easy if you have many windows all the same size. Multiple sizes will require a bit of jigsaw puzzle ingenuity.
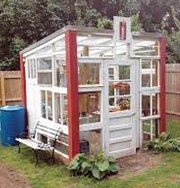 The size of your greenhouse will depend upon your supply of old windows and your imagination. If you just want to plant seeds to get them started you really don’t need a whole lot of room. Once you have the 2 side walls mapped out, you’ll need the 2 ends. The width of these walls will often depend upon what windows you have to work with, bearing in mind that you WILL need a door on one end. You will also need an opening on the end opposite from the door for a fan. This is for cooling in warmer months.
Once you have your “blueprint” laid out you can start construction of your frame. You’ll need some 2 x 4 studs to anchor your windows to. Where the studs are located are dependent on how wide your windows are. You will probably also want some 4 x 4’s to anchor the corners of your little house. You will want to sink these 4 x 4’s 18 inches or so into the ground. You don’t want your greenhouse to fly away in a windstorm. Anchor your corners and install your 2 x 4 studs between them. Attach your windows to the corner posts and the studs with simple construction screws. (a hammer near glass is asking for trouble) Your corner post will be the anchor point for one of your windows. Remember: Measure twice. Once you’ve sunk your posts, you’re pretty much committed. Do the same for all 4 walls, remembering you also need to install a door on one end.
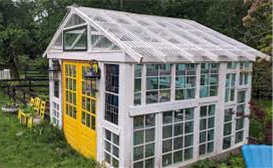 You are going to need a roof, and you will have to build a frame for that too. It should be slanted a bit for rain runoff and a translucent material is best. You CAN use old windows for the roof too if you can guarantee there’ll be no hailstorms… ever. Plexiglass and polycarbonate sheets are available and a better choice. While still breakable, they are much tougher than glass.
You’ll need an opening (or an operating window) on one end opposite the door of your little greenhouse for ventilation. The best choice for the door is an old storm door that the window opens to a screen.
If you want to get really elaborate you can add a crushed concrete or gravel floor to your greenhouse along with the shelves and other necessary gardening items you may need.
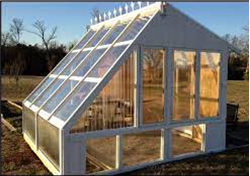 Put it all together and you have your cozy, little greenhouse, for far less than a hoop house. AND you have the good feeling of recycling, as well as accomplishing something on your own,
Make it as big, or as small as your need, or your yard will allow. Enjoy larger crops with your extended growing season. Maybe next year you can learn canning…
Good luck and enjoy the fruits (and veggies) of your labor!

